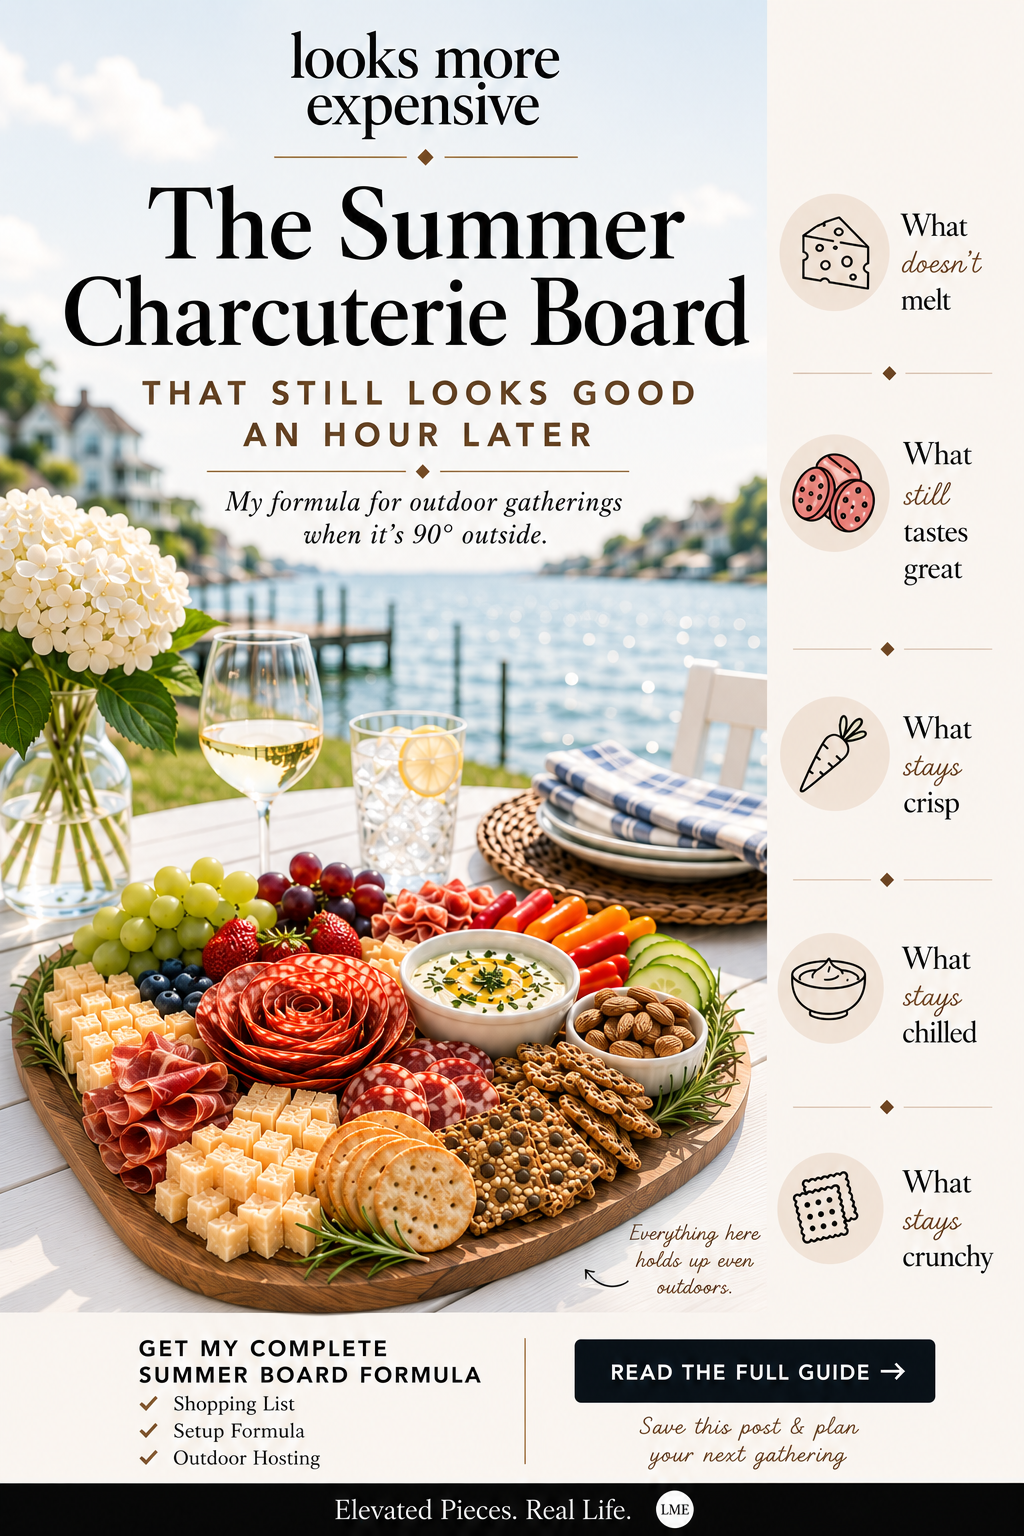
The Summer Charcuterie Board That Still Looks Good an Hour Later
Every summer, I seem to end up bringing a charcuterie board somewhere.
Sometimes it’s to a friend’s house. Sometimes it’s out on the dock. Sometimes it’s riding in the back of the golf cart on the way to someone’s patio for happy hour.
After enough summer gatherings, I stopped trying to build the same boards I’d serve indoors.
I’ve learned that some ingredients are perfectly happy sitting outside while everyone catches up, and others…not so much.
Now I use the same basic formula almost every time. It travels well, still looks beautiful an hour later, and lets me enjoy the afternoon instead of worrying about melting cheese or soggy crackers.
The best part? It doesn’t have to be expensive.
I buy almost all of my cheeses, cured meats, and crackers at Aldi. Their cheese selection is one of my favorite reasons to shop there, and I honestly don’t think you can beat their prices on quality cheese and charcuterie meats. It’s one of my favorite ways to put together a board that looks much more expensive than it actually was.
If I’m headed to a backyard dinner, boat day, dock gathering, or patio happy hour, this is exactly how I build it.
I skip the soft cheeses outside
I love Brie just as much as anyone else, but once the temperatures climb, it usually stays at the grocery store.
Instead, I almost always reach for firmer cheeses like:
Aged cheddar
Gouda
Manchego
Parmesan chunks
They hold their shape, slice easily, and still look great long after the board hits the table.
These are the meats I reach for every time
When I’m entertaining outside, I keep it simple.
Most of my boards include:
Salami
Soppressata
Pepperoni
They’re easy to arrange, hold up well in the summer heat, and they always disappear first.
I almost always add a salami rose, too. It’s one of those little details that makes the whole board look much more polished without adding much extra work. If you’ve read my How I Make an Aldi Charcuterie Board Look More Expensive post, that’s where I shared the YouTube tutorial I learned from. Once you’ve made one or two, they’re surprisingly easy, and people always assume they took much longer than they actually did.
Grapes always go on first
Whenever I’m building a board, grapes are almost always the first thing I put down.
They travel well, don’t need any prep, and naturally help fill in the board.
From there, I’ll usually add:
Strawberries
Blueberries
Carrot sticks
Mini sweet peppers
Cucumber slices
If I want apple slices, I’ll soak them in a little lemon water first so they stay fresh until everyone starts eating.
I keep the dips simple
I don’t overthink this part.
Most of the time I’ll choose:
Hummus
Tzatziki
Whipped feta
If we’re going to be outside for a while, I keep the dips in the refrigerator until the last minute or pack them separately in a small cooler and add them once we arrive.
It only takes another minute, but everything stays much fresher.
Aldi is my secret for crackers, too
This is another aisle I never skip.
Aldi’s entertainment crackers and specialty crackers are staples in my pantry because they’re affordable, sturdy enough for outdoor entertaining, and there’s always enough variety to mix things up.
I usually grab two different styles so everyone has options.
The little details are what make it feel elevated
This is my favorite part.
A wooden serving board, fresh rosemary tucked between the cheeses, linen napkins, simple cheese knives, and a few small bowls for olives or nuts instantly make everything feel more intentional.
Since we’re usually outside, there are two more things I almost always bring with me.
The first is a set of mesh food covers. They keep flies and bugs off the food without hiding the board you’ve spent time putting together.
The second is a set of tabletop fly fans. If you’ve never used them before, they’re surprisingly effective. The soft spinning blades keep flies away from the food, and because they’re so quiet, most people don’t even realize they’re there.
Neither one is particularly glamorous, but they’ve become two of those little entertaining upgrades I wouldn’t want to be without.
How I take it outside
I almost always build the board inside where it’s cool, cover it tightly, and keep it in the refrigerator until we’re ready to leave.
If I’m taking it to someone else’s house or heading down to the dock, I’ll pack the dips separately in a small cooler and add them once we get there.
It only takes another minute, but everything stays fresher, and the board still looks just as nice when it’s finally time to eat.
My Summer Charcuterie Formula
Whenever I’m putting together a board for an outdoor gathering, this is the formula I come back to:
3 hard cheeses
3 cured meats
2 fresh fruits
2–3 crunchy vegetables
1 chilled dip
2 sturdy crackers
1 salty snack like nuts or olives
Fresh herbs for garnish
I’ve put together enough boards for afternoons on the dock, evenings on the patio, and weekends with friends to know that this combination just works.
At the end of the day, I’d rather spend my time talking with friends than worrying about melting cheese or chasing flies away from the food. This formula lets me set the board down, enjoy the afternoon, and know it’ll still look just as inviting when everyone finally starts reaching for it. -LME
*This post may contain affiliate links. If you purchase through these links, I may earn a small commission at no additional cost to you. I only recommend products I personally use, love, or genuinely believe are worth sharing.
Enjoyed this post? Join The Best of The Edit for favorite finds, practical tips, and the most-loved posts from Looks More Expensive.